Mounting the monitor onto the wall was mostly difficult only because it was an enclosed space. I pulled the table out from the wall with enough space to get behind it, but not enough space to comfortably move. I never learn…
This post shows how I mounted my Asus 24″ monitor to the wall.
I took way too long to post this, so I’m going to make this more of a pictorial with less comments.
Also check out the other posts on ergonomics on this blog:
Ergonomics on the Cheap
Mouse placement
Cutting the Table Legs
 |
| Before: monitor on stand |
|
|
Above is the monitor with the original stand: not height adjustable, and it wobbles when I type hard because its much heavier than my previous monitor. Not a big deal, I planned to mount it to the wall before I even bought it.
 |
| The new mount |
|
|
 |
| The mount hardware |
|
 |
| Additional mount hardware and instructions |
As I didn’t own more sophisticated hardware to check that the mount was level, I used a string with a weight. Gravity is free!
 |
| Seems about level here |
 |
| Mount tightened and ready |
 |
| With the swing arm attached, we’re getting closer |
 |
| Back of the monitor – holes for the VESA mount |
 |
| VESA mount plate attached |
 |
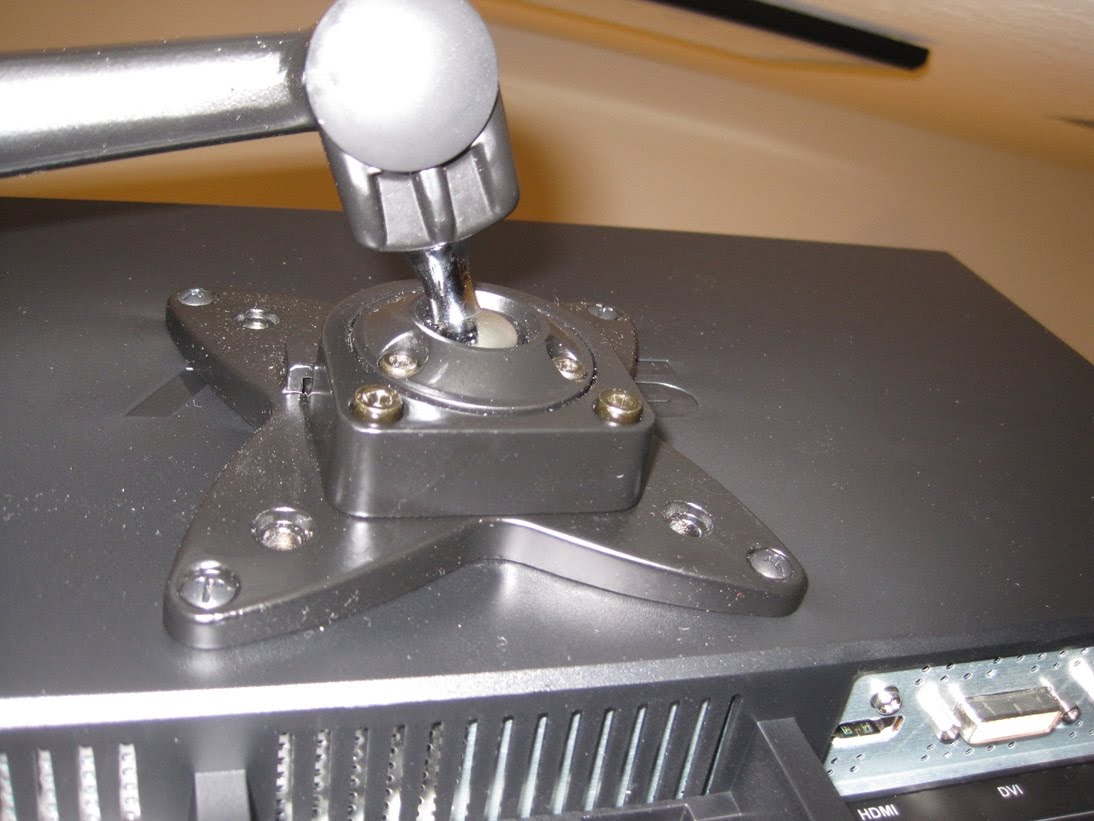
| Ball joint and mount plate from below |
 |
| Side view – mounted and with cables hooked in |
 |
| Top view |
 |
| Side view – adjusted to desired position |
Now that the monitor is mounted, it’s a lot more stable (only the speakers wobble if the table is shaken). I could have mounted the mechanism a tiny bit higher to allow more adjustment, but I think it’s fine where it is.
I discovered that the range of tilt was less than I had hoped, so this can’t be moved low and tilted up very far. something to keep in mind when choosing the height to mount the mechanism.
Final notes:
Tighten the ball joint bolts again after a few days to help reduce the looseness. It’s hard to keep this thing from tilting, so it’s best not to touch it once it’s in place. Otherwise, it seems to tilt to the side and be hard to level. I suppose a more expensive mount would have better balancing, but this does pretty well.
A more expensive mount might have a better ball joint, but this one does fine.
Next
Coming soon, the modification to my desk to make it shorter.